Home › Minecraft › How to Make a Loom in Minecraft (and Design Banners With It)
How to Make a Loom in Minecraft (and Design Banners With It)
A plain banner is just a coloured flag. A banner with a skull, a border and a gradient is a coat of arms. The block that makes the difference is the loom — a small wooden workstation that applies patterns to banners cleanly, cheaply and as many times as you like. It takes about thirty seconds to craft, so there is no excuse for boring flags.
What You Need to Make a Loom
- 2 planks of any wood
- 2 string
- A crafting table
Planks come from any logs you punch down. String means spiders: hunt them at night, sweep caves, or raid a mineshaft's cobwebs with a sword for string in bulk. If spiders are scarce, shepherd houses in villages already contain a loom you can simply take — more on that below.
The Loom Crafting Recipe
- Open the crafting table.
- Place the two string side by side in the top or middle row.
- Place the two planks directly underneath them, in the same two columns.
- Take the loom from the result slot.
That is the entire recipe, and it is shapeless enough to forgive small placement wobbles as long as the string sits above the planks. Keep the loom somewhere central in your base — banner designing tends to happen in batches once you start.
How to Design a Banner in a Loom
Right-click the loom and its interface opens with three input slots on the left: one for a banner, one for a dye, and one for an optional banner pattern item. Add a banner and a dye and the middle panel fills with design options — halves, stripes, borders, crosses, triangles, gradients and more. Pick one, check the live preview on the right, and take the finished banner out.
Three details make the loom far better than the old crafting-table method. First, each layer costs just one dye, instead of the up-to-eight a crafting-grid pattern can demand, and the preview means you never waste it on a design you hate. Second, patterns stack in layers, up to six on one banner, so complex emblems are built one pass at a time. Third, special banner pattern items — found in loot or traded from villagers — are never used up in the loom, and they unlock designs like the skull, creeper face, snout and globe that the basic menu cannot offer. Copying a finished banner is easy too: combine it with a blank banner of the same base colour in the crafting grid.
The Loom's Second Job: Shepherd Workstation
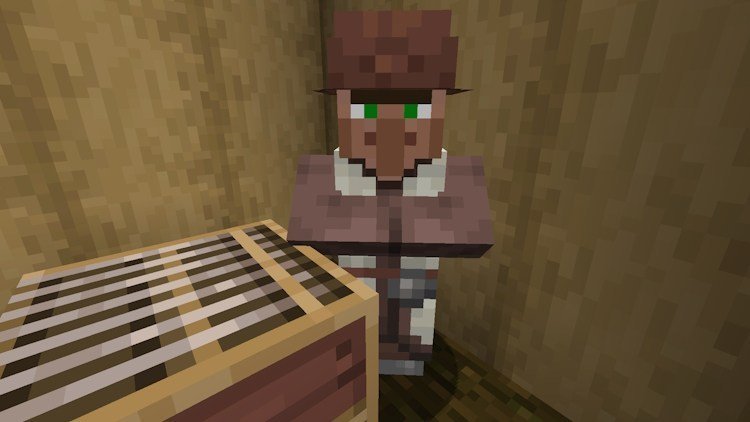
Place a loom next to an unemployed villager and it claims the block and becomes a shepherd. Shepherds buy wool from you and sell coloured wool, beds, carpets and banners — a tidy trading loop if your base already runs a sheep pen and a dye collection. Villages generate looms naturally inside shepherd houses, which is also the easiest way to get your first one without hunting spiders: find the house with wool and a loom and, villager permitting, borrow it.
Looms as Building Blocks
Builders quietly love the loom's texture. Its side looks like an empty shelf, so rows of looms become instant bookcases and pantry shelving in libraries and kitchens, and the framed top reads as a neat dividing panel in walls. Cheap, good-looking and functional — make extras and let your storage room look organised even when it is not.
Frequently asked questions
Where can you find a loom without crafting one?
Inside shepherd houses in villages. The loom is the shepherd villager's workstation block, so their houses generate with one.
How much dye does a loom pattern cost?
One dye per layer, whatever the design. Crafting-grid patterns can take up to eight dye for the same layer, so the loom is far cheaper for detailed banners — and banner pattern items are never consumed.
How many patterns can one banner have?
Up to six layers. Each pass through the loom adds one pattern, so detailed emblems are built up layer by layer.
What villager job does a loom create?
A shepherd. An unemployed villager who claims a loom becomes a shepherd and trades in wool, beds, carpets and banners.
More Minecraft guides
 All Minecraft Villager Jobs ExplainedUpdated 12 November 2026
 Woodland Mansion in Minecraft: How to Find and Loot OneUpdated 12 November 2026
 Mineshafts in Minecraft: Loot, Cave Spiders and How to Find OneUpdated 12 November 2026
 Redstone Components in Minecraft: A Complete GuideUpdated 12 November 2026
 All Wolf Variants in Minecraft and Where to Find ThemUpdated 12 November 2026