Home › Minecraft › How to Download and Install Skins in Minecraft (Java, Bedrock and PE)
How to Download and Install Skins in Minecraft (Java, Bedrock and PE)
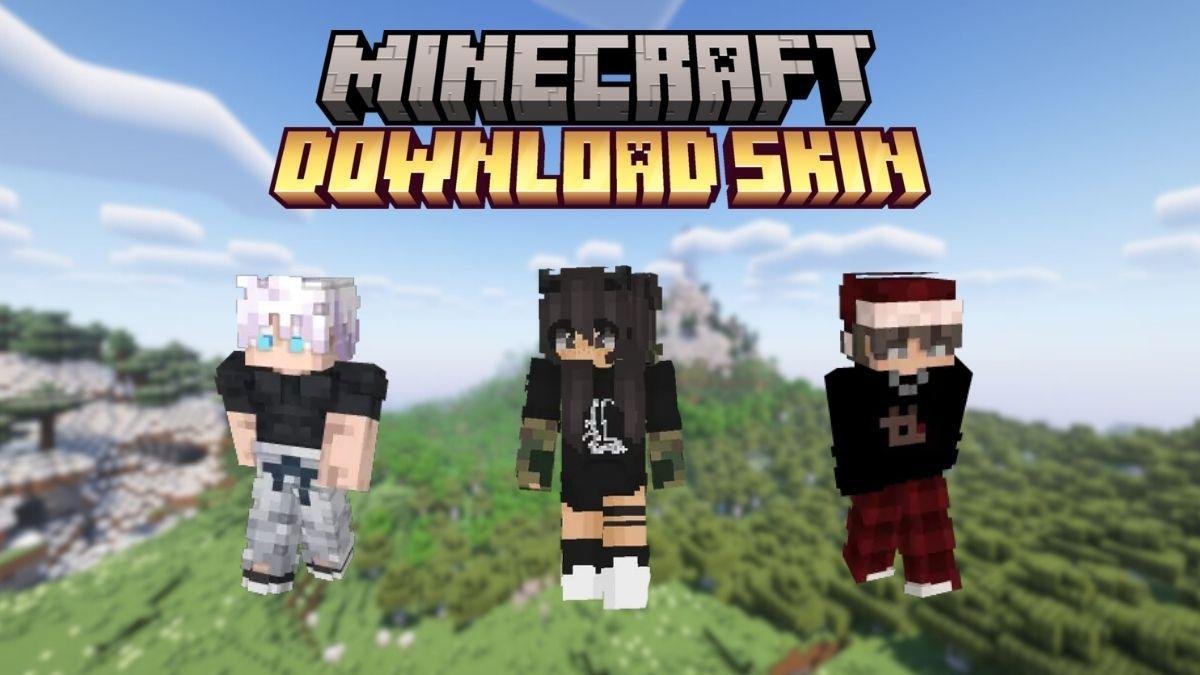
Your skin is how every other player sees you, and changing it takes about two minutes once you know where your edition hides the option. The catch is that Java, Bedrock and Pocket Edition all do it differently. This guide walks through downloading a skin safely, then installing it on each version.
Step 1: Download a Skin File
Community sites host thousands of free skins. Skindex (minecraftskins.com) is the most popular starting point, with NameMC another well-known option. Browse or search for a character or theme, open the skin's page and click Download. You will get a small PNG file in your Downloads folder — that unassuming little image is the entire skin, wrapped as a flat template of your character.
A word of caution that is worth taking seriously: only ever download the PNG itself. A skin file never needs an installer, an .exe or a browser extension, so if a site offers you one, close the tab. Scanning downloads before use is a sensible habit too.
Step 2: Install It on Your Edition
| Edition | Where to Apply the Skin |
|---|---|
| Java (website) | minecraft.net profile — Change Skin, then Upload Custom Skin |
| Java (launcher) | Skins tab — New Skin, browse for the PNG, Save & Use |
| Bedrock (PC/console) | Dressing Room — Change Classic Skin — Choose New Skin |
| Pocket Edition (mobile) | Hanger icon on the home screen, then the same Dressing Room steps |
Java Edition — Website
Sign in at minecraft.net, find Minecraft: Java Edition on your profile and click Change Skin. Choose your model first — Classic has 4-pixel-wide arms, Slim has 3-pixel arms — then use Select File in the Upload Custom Skin area, pick your PNG and hit Upload. Open the game and the new skin is already on you.
Java Edition — Launcher
The launcher route works even when the website does not. Open the Minecraft Launcher, go to the Skins tab instead of pressing Play, and click the + for New Skin. Name it, choose the model, browse to your PNG and click Save & Use. The launcher keeps a library of your skins, which makes swapping between favourites painless.
Bedrock and Pocket Edition
On Bedrock, the main menu shows your character with a Dressing Room button underneath. Open it, select a character slot, choose Change Classic Skin, then the blank skin under Owned Skins, and tap Choose New Skin to browse for your file. Pick Classic or Slim when prompted and back out — you are done. On mobile, the Dressing Room hides behind the clothes-hanger icon on the home screen, but everything after that is identical.
Making Your Own Instead
If nothing in the galleries clicks, editors on sites like Skindex let you paint a skin pixel by pixel in the browser, starting from a default template, then download it as the same kind of PNG. Photo editors work too, as long as you keep the template's exact dimensions and transparency. Either way, you install your creation exactly like a downloaded skin — and if you get the bug, our guide to making a Minecraft skin from scratch goes much deeper.
Frequently asked questions
Are Minecraft skins free?
Community skins from sites like Skindex and NameMC are free to download and use. The exception is the official Marketplace on Bedrock, where some skin packs cost Minecoins.
What is the difference between Classic and Slim skins?
Only the arms. Classic models have 4-pixel-wide arms and Slim models have 3-pixel-wide arms. Pick the model the skin was designed for when you import it, or the arms will look stretched or squashed.
Can I use the same skin on Java and Bedrock?
Yes — a skin is just a PNG file, and the same file works on both editions. You do have to apply it separately in each edition, following that edition's steps.
Is Skindex safe to use?
Skindex itself is a long-running, widely used site, but treat any download with basic care: you should only ever receive a PNG image file. Scan downloads as a habit, and leave any site that tries to give you an installer instead.
More Minecraft guides
 What Do Llamas Eat in Minecraft? Wheat and Hay Bales ExplainedUpdated 12 November 2026
 What Do Pigs Eat in Minecraft? (Breeding Food Guide)Updated 12 November 2026
 What Do Polar Bears Eat in Minecraft? (The Honest Answer)Updated 12 November 2026
 What Do Horses Eat in Minecraft? Every Food and Its EffectsUpdated 12 November 2026
 All Wolf Variants in Minecraft and Where to Find ThemUpdated 12 November 2026